Diagnostics
Why Is My Garage Floor Peeling? 7 Causes and How to Fix It
If your garage floor coating is peeling, flaking, or lifting, the cause is almost always one of seven things. Here's how to diagnose the problem and what to do about it.
You spent good money on a garage floor coating. Maybe it was a weekend DIY kit, maybe a contractor installed it. Either way, it was supposed to last. Now patches are lifting, edges are curling, or sheets of it are coming up under the tires every time you pull in.
The frustrating part: peeling almost never starts at the surface. By the time you can see it, the failure has usually been working under the coating for weeks or months. The good news is that the cause is almost always one of seven things, and once you know which one, you know whether you can patch it, need a full re-coat, or have a deeper slab problem to fix first.
Here's the diagnostic walkthrough we use on call-outs.
1. The slab wasn't ground before the coating went down
This is the single most common cause of peeling, and it's the one that hurts the most because it means the entire coating has to come off.
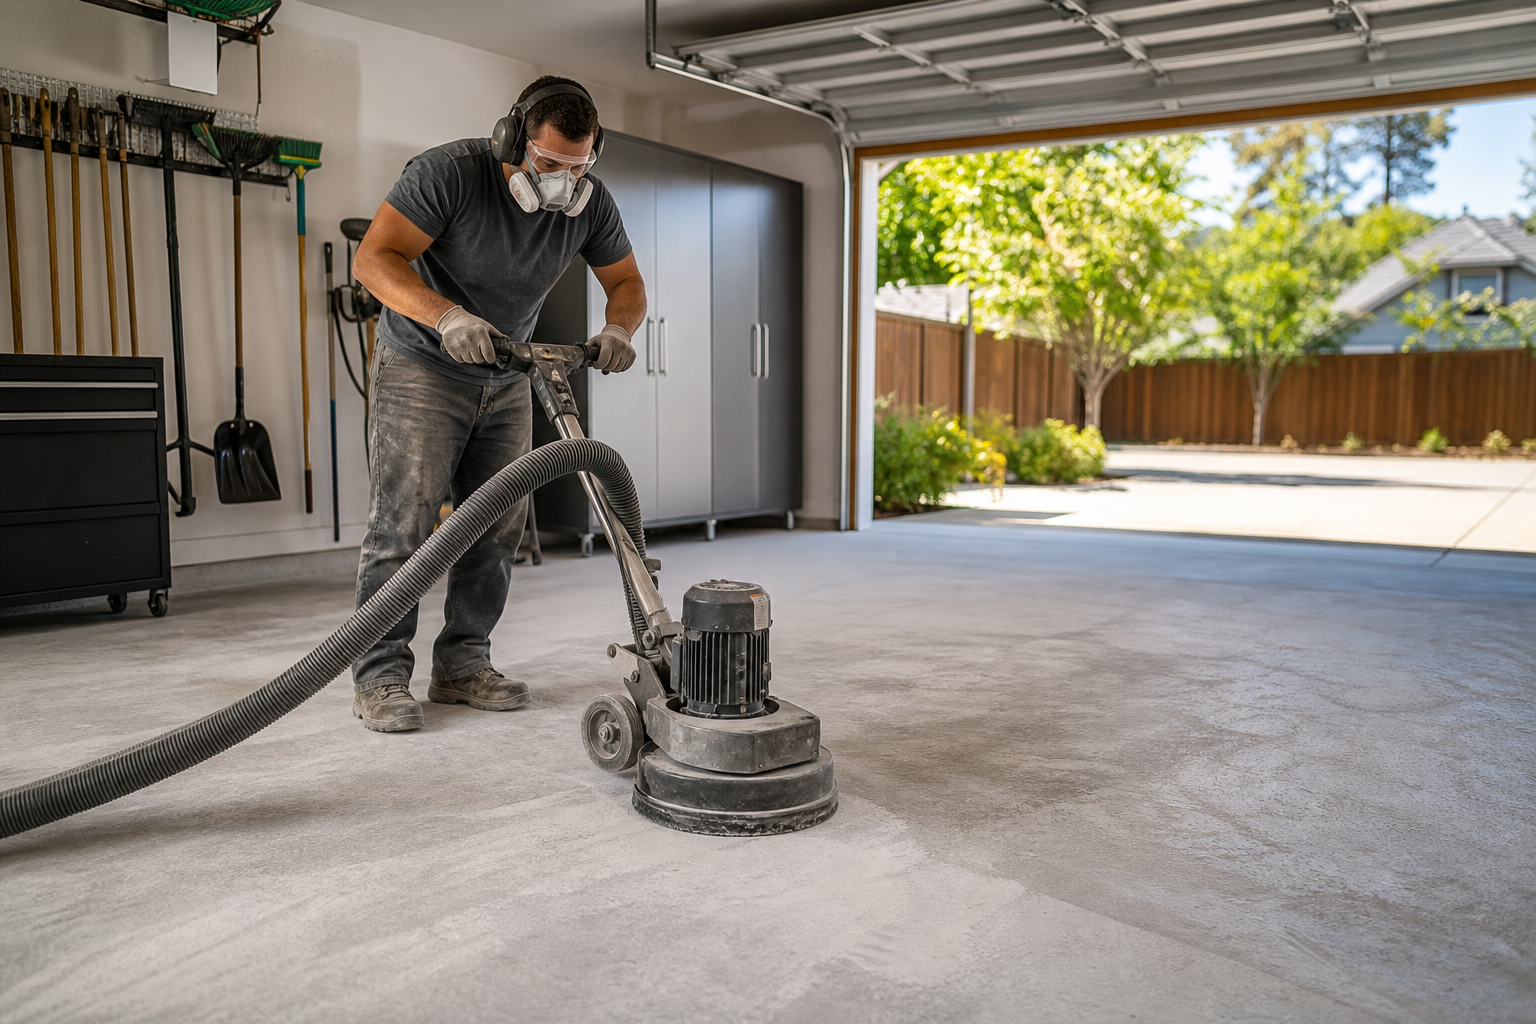
Concrete looks porous, but a smooth-troweled or power-floated slab has a sealed surface layer that coatings can't actually grip. A roller and a primer aren't enough — the slab needs to be mechanically opened up, usually with a diamond grinder, to expose the aggregate underneath. That's what gives a coating something to lock into.
What it looks like: Large sheets peel up cleanly with no concrete stuck to the back. Flip a piece over and you'll see a smooth, almost shiny underside.
The fix: Strip the failing coating, diamond-grind the slab to a CSP-2 or CSP-3 profile, and re-coat. There's no shortcut — patching over a slab that was never prepped just buys you a few months before the next section lifts.
2. Moisture is pushing up through the slab
Concrete is not waterproof. Groundwater under and around your slab evaporates upward through the pores, and that vapor pressure — called Moisture Vapor Transmission, or MVT — will lift a coating right off if the slab is producing more moisture than the coating can tolerate.
Older homes without a vapor barrier under the slab are especially prone to this. So are garages built on a high water table, on a slope where runoff collects, or anywhere the gutters dump water against the foundation.
What it looks like: Bubbles or blisters under the coating, often filled with cloudy moisture. Peeling concentrated in one area (usually near a wall or low spot) rather than distributed evenly.
The fix: Test the slab first with a calcium chloride test (ASTM F1869). If the result is above 4 lbs per 1,000 sq ft per 24 hours, a standard coating will fail again. You need a moisture-mitigating primer or a full vapor barrier system before re-coating. Fix the drainage issue outside the garage too, or you're treating the symptom.
3. Oil contamination was never fully removed
Even after you've degreased and pressure-washed an old garage floor, oil is still in there. It's wicked deep into the concrete pores from years of dripping, and standard cleaning only removes the surface layer. Coat over it and the oil slowly pushes back up to the surface, breaking the bond.
What it looks like: Peeling in distinct circles or stripes that match where the car sat — under the engine, along the wheel tracks. The lifted coating often has a darker, oily underside.
The fix: Petroleum drawing protocols (heated poultice methods that pull oil up out of the slab) before any prep work. Then grind, then prime, then coat. If you skip the drawing step, the contaminated zones will fail again no matter how aggressive the grind.
4. The coating went on too cold, too hot, or too humid
Coating chemistry is unforgiving about temperature and humidity. Most epoxies need the slab between 55°F and 85°F. Polyaspartics have a wider window but are sensitive to humidity above 80%. Cure the coating outside its spec range and you get incomplete cross-linking — the chemistry doesn't fully harden, and what looks like a finished floor is actually a soft, weakly bonded film.
What it looks like: Soft spots that dent under a fingernail, a tacky feel weeks after install, peeling that starts as the seasons change.
The fix: Unfortunately, the only reliable fix is removal and re-coat under controlled conditions. Once the chemistry has failed, you can't restart it. This is why reputable installers won't coat a garage in February without heating the slab first.
5. The base coat and top coat were incompatible
If a previous owner used a hardware-store epoxy kit and someone later top-coated it with a different product, the two layers may not actually bond to each other. Polyurethane over uncured epoxy, polyaspartic over an oil-based product, or any combination that wasn't designed to work together can delaminate at the interface.
What it looks like: The top coat lifts cleanly off the base coat, but the base coat stays stuck to the concrete. You end up with a perfectly intact lower layer and a peeling upper one.
The fix: Strip the top coat, lightly abrade the base coat to give the new top coat a tooth, and re-coat with a compatible system. If you don't know what the base coat is, a small test patch is cheaper than guessing.
6. Cracks in the slab were never repaired
A crack in the concrete is a crack in the coating, full stop. Coatings flex a little, but they can't bridge a structural crack that's actively moving with temperature and load. The coating tears along the crack, water gets under it, and peeling spreads outward from there.
What it looks like: Peeling that follows a clear line across the floor, often originating from a visible crack or control joint.
The fix: Rout out the crack to a clean V-shape, fill with a flexible polyurea or epoxy crack repair product (sometimes called Mender), let it cure, then grind flush before coating. Control joints get treated the same way unless your installer is using a system that intentionally honors the joint.
7. It's actually old and you got your money's worth
Sometimes the answer is just that the coating did its job and reached the end of its life. A budget hardware-store epoxy kit installed correctly has a realistic 3-5 year lifespan in a daily-use garage. Professional polyaspartic systems push 15-20 years. If your floor is past those marks and the wear is even rather than concentrated, you're not looking at a failure — you're looking at a re-coat cycle.
What it looks like: Even wear across the whole floor, especially in high-traffic zones. No moisture, no oil, no obvious slab problems.
The fix: Plan a re-coat. The slab is fine. Strip what's left, prep, and put down a better system this time.
When to DIY vs. call a pro
Some of these you can handle yourself. Some you can't.
DIY-friendly: Small patches from minor incompatibility issues, or a full re-coat on a slab you know is structurally sound and dry. Crack repairs if you're comfortable with the prep.
Call a pro: Anything involving moisture, oil contamination, or large areas. Diamond grinding requires a $3,000+ machine and HEPA dust collection. Moisture testing requires equipment and interpretation. Petroleum drawing is a multi-day protocol most homeowners aren't set up for.
The honest rule of thumb: if more than 20% of the floor is failing, or if you don't know the cause, get a diagnostic visit before you buy materials. We've watched homeowners spend $800 on a re-coat kit that lifted again in six months because the underlying issue wasn't addressed. That's the worst outcome — same problem, less money in your pocket.
What a professional diagnosis actually looks like
When we come out for a peeling-coating call, the first thing we do is not quote a price. We:
- Test moisture in two or three spots with a calcium chloride kit or a Tramex meter
- Pull a small sample of the failing coating to look at the underside
- Check for oil contamination in the peeling zones
- Look at slab cracks and control joints
- Ask about the previous installation — products used, time of year, who did it
Then we tell you which of the seven causes is at play, and whether you're looking at a patch, a re-coat, or a full system replacement with moisture mitigation. If you want the deeper technical breakdown of how each of those install steps works, our Garage Floor Installation Guide walks through the diagnostic intake, surface prep, and coating chemistry in detail.
Peeling isn't the end of the floor. It's the slab telling you something specific. The job is figuring out what it's saying before you spend money fixing the wrong thing.
Sources & further reading
- ASTM F1869 — Standard Test Method for Measuring Moisture Vapor Emission Rate of Concrete Subfloor Using Anhydrous Calcium Chloride
- ICRI Technical Guideline 310.2R — Selecting and Specifying Concrete Surface Preparation for Sealers, Coatings, Polymer Overlays, and Concrete Repair
- ACI 302.2R — Guide for Concrete Slabs that Receive Moisture-Sensitive Flooring Materials
- FHWA technical resources on polymer concrete coatings